คุณสามารถสร้างเอฟเฟกต์นี้ได้โดยทำตามขั้นตอนด้านล่าง:
อนุภาค
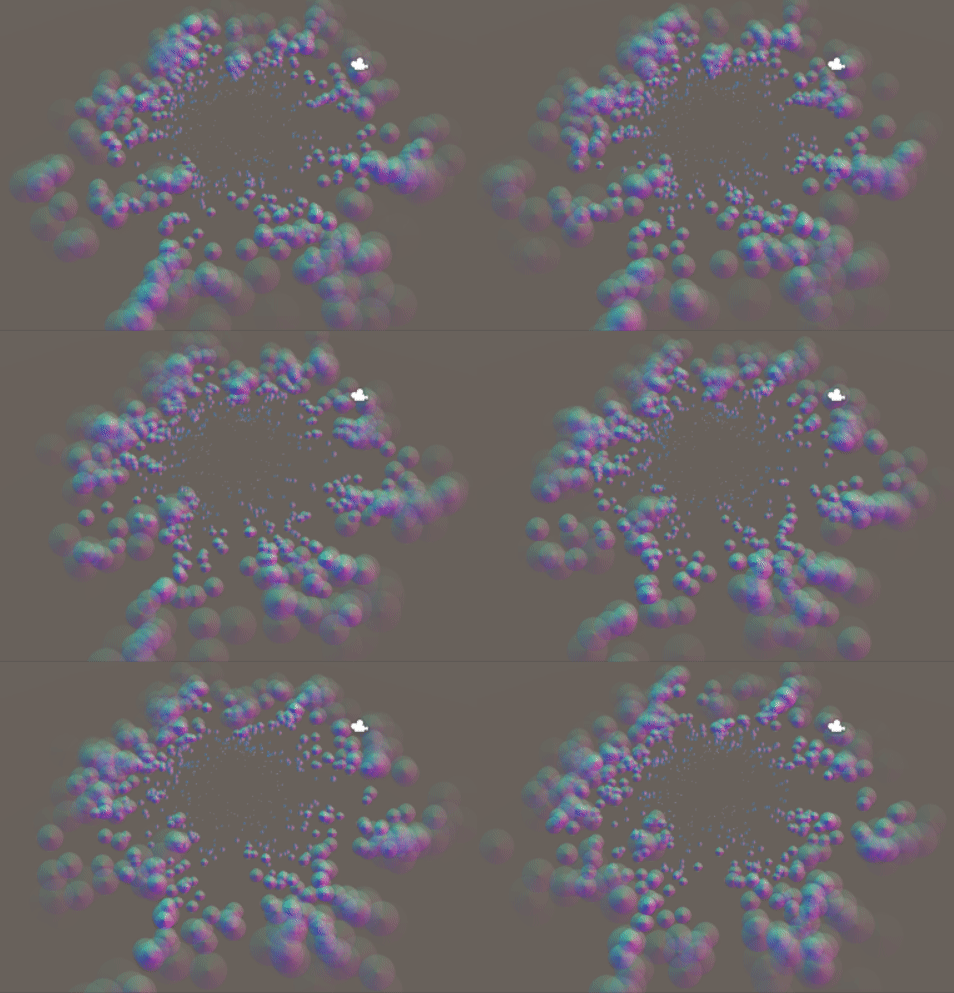
RenderTextuer
คุณสามารถเก็บผลลัพธ์โดยใช้ RenderTexture นี่คือตัวอย่างของ multipass ใน shadertoy:
https://www.shadertoy.com/view/ltccRl
iñigo quilez: Shadertoy ใช้การผ่านได้หลายครั้งต่อการบัฟเฟอร์หนึ่งครั้ง ตามที่ชื่อระบุสิ่งนี้ผ่านจะเก็บผลลัพธ์ในบัฟเฟอร์ บัฟเฟอร์เป็นเพียงพื้นผิว ความสามัคคีจะช่วยให้คุณแสดงถึงพื้นผิวเช่นกัน
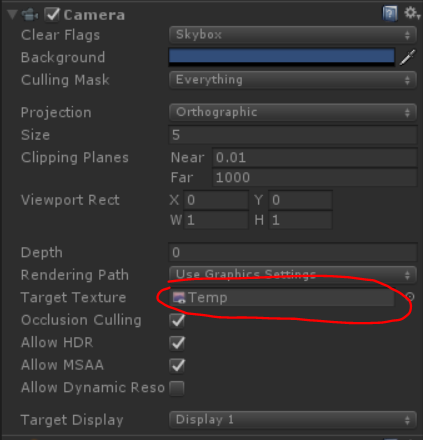
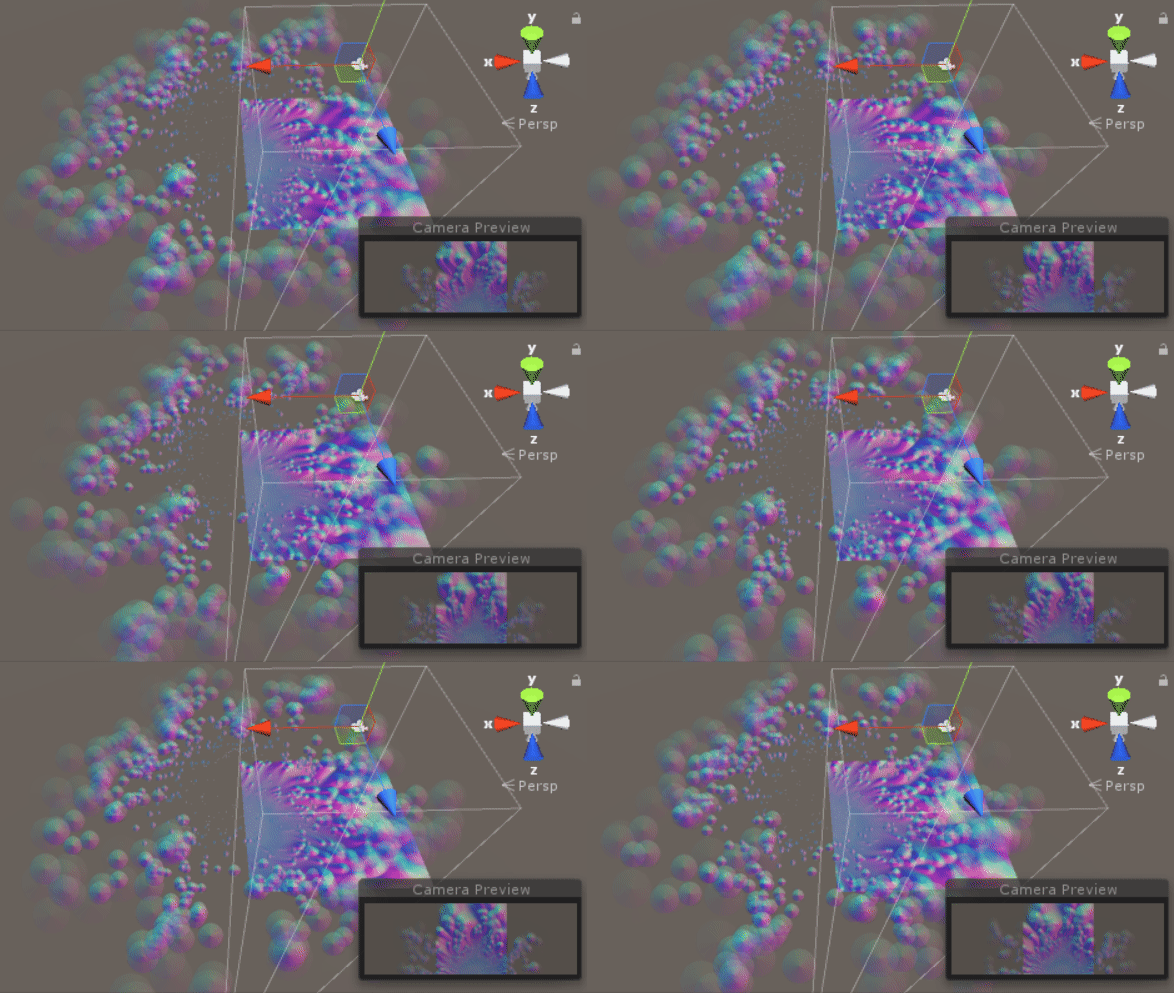
ฉันสร้างกล้องเพื่อเรนเดอร์อนุภาคไปยัง RenderTexture:
GrabPassing
คุณสามารถคว้าบัตรผ่านเพื่อใช้งาน Distortion ได้
ฉันอธิบายมันในโพสต์นี้:
ฉันจะจำลองเอฟเฟกต์อนุภาคการบิดเบือนของ Quantum Break ได้อย่างไร
เบลอ
ด้วยการใช้สีอัลฟาตลอดช่วงชีวิตเราจะมีความพร่ามัวที่ง่าย
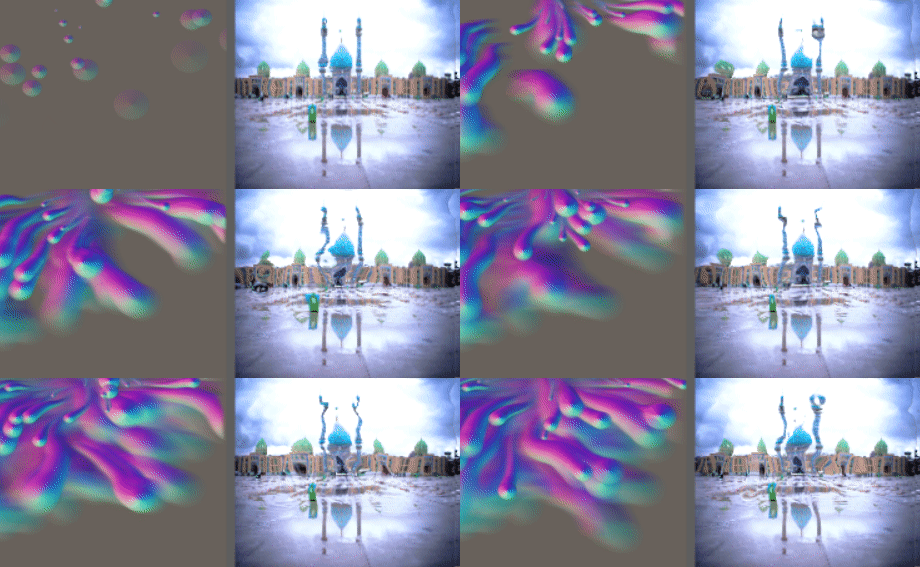
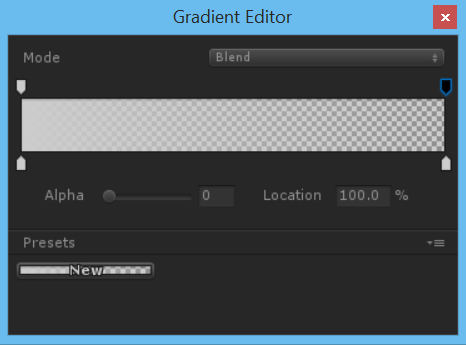
เพื่อให้ได้ผลลัพธ์ที่ดีขึ้นเราควรใช้การเบลอแบบง่าย แต่เราจะทำให้เบลอได้อย่างไร
เมทริกซ์ Convolution
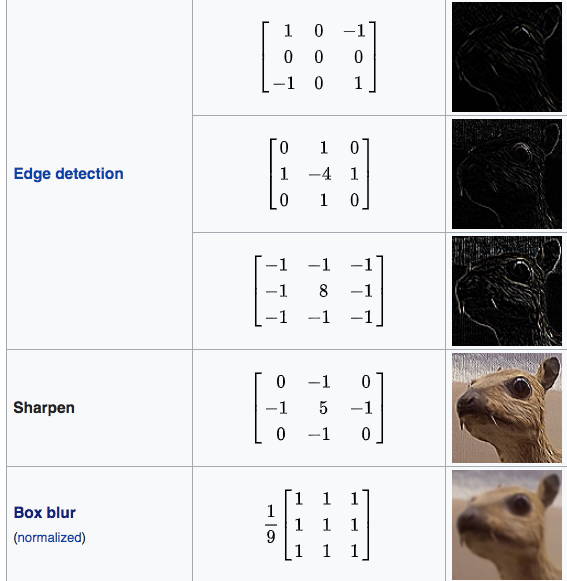
ในการประมวลผลภาพเคอร์เนลเมทริกซ์คอนโวลูชันหรือมาส์กเป็นเมทริกซ์ขนาดเล็ก ใช้สำหรับการเบลอภาพคมชัดลายนูนการตรวจจับขอบและอื่น ๆ สิ่งนี้สามารถทำได้โดยการทำข้อตกลงระหว่างเคอร์เนลและรูปภาพ
สำหรับรายละเอียดเพิ่มเติมโปรดไปที่ลิงค์นี้
 Shader "Smkgames/Convolution"
    {
        Properties
        {
            _MainTex ("Texture", 2D) = "white" {}
            [Enum(kerEdgeDetectionA,1,kerEdgeDetectionB,2,kerEdgeDetectionC,3,kerSharpen,4,kerBoxBlur,5)]
            _Kernel("Kernel", Float) = 1
        }
        SubShader
        {
            // No culling or depth
            Cull Off ZWrite Off ZTest Always

            Pass
            {
                CGPROGRAM

                #pragma vertex vert
                #pragma fragment frag

                #include "UnityCG.cginc"

                struct appdata
                {
                    float4 vertex : POSITION;
                    float2 uv : TEXCOORD0;
                };

                struct v2f
                {
                    float2 uv : TEXCOORD0;
                    float4 vertex : SV_POSITION;
                };

                v2f vert (appdata v)
                {
                    v2f o;
                    o.vertex = UnityObjectToClipPos(v.vertex);
                    o.uv = v.uv;
                    return o;
                }

                sampler2D _MainTex;
                float4 _MainTex_TexelSize;

                float3x3 GetData(int channel, sampler2D tex, float2 uv, float4 size)
                {
                    float3x3 mat;
                    for (int y=-1; y<2; y++)
                    {
                        for(int x=-1; x<2; x++)
                        {
                            mat[x+1][y+1]=tex2D(tex, uv + float2(x*size.x, y*size.y))[channel];
                        }
                    }
                    return mat;
                }
                float3x3 GetMean(float3x3 matr, float3x3 matg, float3x3 matb)
                {
                    float3x3 mat;
                    for (int y=0; y<3; y++)
                    {
                        for(int x=0; x<3; x++)
                        {
                            mat[x][y] = (matr[x][y] + matg[x][y] + matb[x][y]) / 3.0;
                        }
                    }
                    return mat;
                }

                float Convolve(float3x3 kernel, float3x3 pixels, float denom, float offset)
                {
                    float res = 0.0;
                    for (int y=0; y<3; y++)
                    {
                        for(int x=0; x<3; x++)
                        {
                            res += kernel[2-x][2-y]*pixels[x][y];
                        }
                    }

                    return  res;
                }

                float _Kernel;

                fixed4 frag (v2f i) : SV_Target
                {


                    float3x3 kerEdgeDetectionA = float3x3 (    0.0,  0,  -1.0,
                                                        1.0,  0,  -1.0,
                                                        0.0,  1.0,  0.0);

                   float3x3 kerEdgeDetectionB = float3x3 (0.0,  1.0,  0.0,
                                                 1.0, -4.0,  1.0,
                                                 0.0,  1.0, 0.0);

                   float3x3 kerEdgeDetectionC = float3x3 (-1.0, -1.0, -1.0,
                                                    -1.0,  8.0, -1.0,
                                                    -1.0, -1.0, -1.0);

                   float3x3 kerSharpen = float3x3 (0.0, -1.0, 0.0,
                                                    -1.0, 5.0, -1.0,
                                                    0.0, -1.0, 0.0);


                    float3x3 kerBoxBlur = (1.0/9.0)*float3x3 (    1.0,  1.0,  1.0,
                                                        1.0,  1.0,  1.0,
                                                        1.0,  1.0,  1.0);


                    float3x3 kernelSelection;
                if(_Kernel == 1){
                kernelSelection = kerEdgeDetectionA;
                }else if(_Kernel == 2){
                kernelSelection = kerEdgeDetectionB;
                }else if(_Kernel == 3){
                kernelSelection = kerEdgeDetectionC;
                }else if(_Kernel == 4){
                kernelSelection = kerSharpen;
                }else if(_Kernel == 5){
                kernelSelection = kerBoxBlur;
                }

                float3x3 matr = GetData(0, _MainTex, i.uv, _MainTex_TexelSize);
                float3x3 matg = GetData(1, _MainTex, i.uv, _MainTex_TexelSize);
                float3x3 matb = GetData(2, _MainTex, i.uv, _MainTex_TexelSize);
                float3x3 mata = GetMean(matr, matg, matb);


                // kernel
               float4 gl_FragColor = float4(Convolve(kernelSelection,matr,1.0,0.0),
                                            Convolve(kernelSelection,matg,1.0,0.0),
                                            Convolve(kernelSelection,matb,1.0,0.0),
                                            1.0);

                return gl_FragColor;
            }
            ENDCG
        }
    }
}
Boxblur
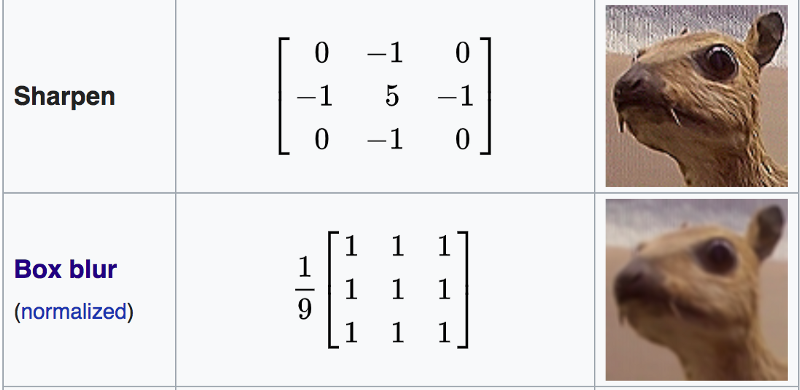
กล่องเบลอ (หรือที่เรียกว่าตัวกรองแบบเส้นตรงกล่อง) เป็นตัวกรองแบบเส้นตรงเชิงพื้นที่ซึ่งแต่ละพิกเซลในภาพที่ได้มีค่าเท่ากับค่าเฉลี่ยของพิกเซลใกล้เคียงในภาพอินพุต มันเป็นรูปแบบของตัวกรอง low-pass ("เบลอ") เบลอแบบ 3 คูณ 3 สามารถเขียนเป็นเมทริกซ์
https://en.wikipedia.org/wiki/Box_blur
Shader "Smkgames/Simple Box Blur"
{
    Properties
    {
        _MainTex ("Texture", 2D) = "white" {}
    }
    SubShader
    {
        Blend SrcAlpha OneMinusSrcAlpha


        Pass
        {
            CGPROGRAM
            #pragma vertex vert
            #pragma fragment frag

            #include "UnityCG.cginc"

            struct appdata
            {
                float4 vertex : POSITION;
                float2 uv : TEXCOORD0;
            };

            struct v2f
            {
                float2 uv : TEXCOORD0;
                float4 vertex : SV_POSITION;
            };

            v2f vert (appdata v)
            {
                v2f o;
                o.vertex = UnityObjectToClipPos(v.vertex);
                o.uv = v.uv;
                return o;
            }

            sampler2D _MainTex;
            float4 _MainTex_TexelSize;

            float4 box(sampler2D tex, float2 uv, float4 size)
            {
                float4 c = tex2D(tex, uv + float2(-size.x, size.y)) + tex2D(tex, uv + float2(0, size.y)) + tex2D(tex, uv + float2(size.x, size.y)) +
                            tex2D(tex, uv + float2(-size.x, 0)) + tex2D(tex, uv + float2(0, 0)) + tex2D(tex, uv + float2(size.x, 0)) +
                            tex2D(tex, uv + float2(-size.x, -size.y)) + tex2D(tex, uv + float2(0, -size.y)) + tex2D(tex, uv + float2(size.x, -size.y));

                return c / 9;
            }

            float4 frag (v2f i) : SV_Target
            {
                float4 col = box(_MainTex, i.uv, _MainTex_TexelSize);
                return col;
            }
            ENDCG
        }
    }
}
การทำซ้ำ
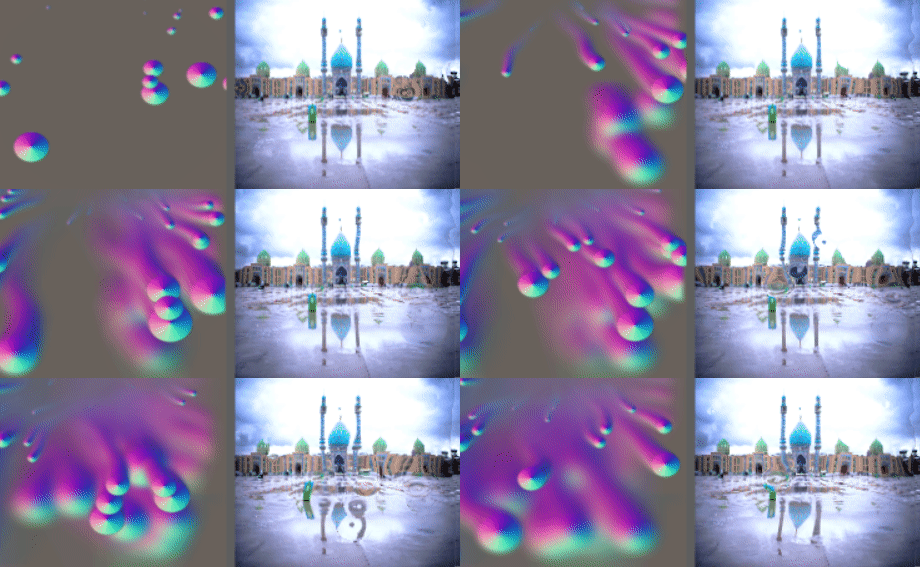
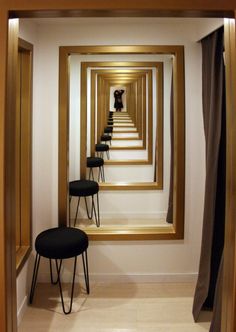
คุณสามารถใช้ Rendertexture เพื่อจัดเก็บเฟรมก่อนหน้าดังนั้นคุณสามารถคว้าเฟรมก่อนหน้านี้แล้วเบลอ ด้วยการทำซ้ำสิ่งนี้จะทำให้คุณพร่ามัว
ปกติ
float4 distortion = tex2D(_MainTex,i.uv);
float3 distortionNormal = UnpackNormal(distortion);

ข้อสรุป
Final shader:
Shader "Smkgames/BrokenGlass3D"
{
    Properties{
        _MainTex("MainTex",2D) = "white"{}
        _NormalIntensity("NormalIntensity",Float) = 1
        _Alpha("Alpha",Float) = 1
    }
    SubShader
    {
Tags {"Queue"="Transparent" "RenderType"="Transparent"}
Blend SrcAlpha OneMinusSrcAlpha


        GrabPass
        {
            "_GrabTexture"
        }

        Pass
        {
            CGPROGRAM
            #pragma vertex vert
            #pragma fragment frag

            #include "UnityCG.cginc"

            struct appdata
            {
                float4 vertex : POSITION;
                float2 uv : TEXCOORD0;
                float2 grabPos : TEXCOORD1;
                float3 normal :NORMAL;
            };

            struct v2f
            {
                float2 uv : TEXCOORD0;
                float4 grabPos : TEXCOORD1;
                half3 worldNormal :TEXCOORD2;
                float4 vertex : SV_POSITION;

            };
            sampler2D _MainTex;
            float _Intensity,_Alpha;

            v2f vert (appdata v)
            {
                v2f o;
                o.uv = v.uv;
                o.vertex = UnityObjectToClipPos(v.vertex);
                o.grabPos = ComputeGrabScreenPos(o.vertex);
                o.worldNormal = UnityObjectToWorldNormal(v.normal);
                return o;
            }

            sampler2D _GrabTexture;
            float _NormalIntensity;

            fixed4 frag (v2f i) : SV_Target
            {
                float4 distortion = tex2D(_MainTex,i.uv);
                float3 distortionNormal = UnpackNormal(distortion);
                distortionNormal.xy *= _NormalIntensity;
                normalize(distortionNormal);
                fixed4 col = tex2Dproj(_GrabTexture, i.grabPos+float4(distortionNormal.rgb,0));
                return col;
            }
            ENDCG
        }
    }
}
โดยไม่ต้องใช้สีในช่วงชีวิต:

โดยใช้สีในช่วงชีวิต:

แหล่งที่มาใช้ได้:
https://github.com/smkplus/RainDrop
ยังมีอีก!
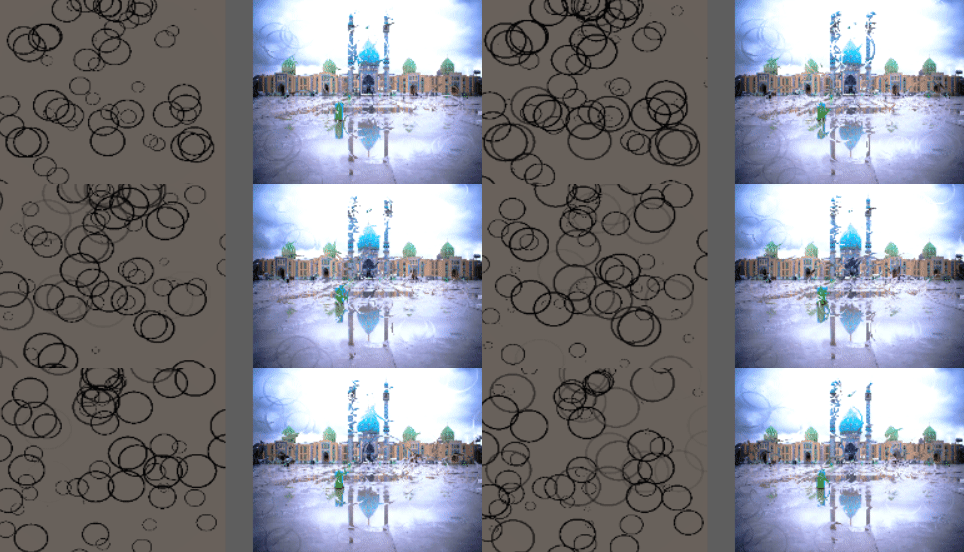
นอกจากนี้คุณสามารถทำระลอก
ลิงค์ที่มีประโยชน์
https://80.lv/articles/breakdown-animated-raindrop-material-in-ue4/
https://seblagarde.wordpress.com/2013/01/03/water-drop-2b-dynamic-rain-and-its-effects/

